How to Draw a Cute Frog Step by Step
Frogs are a type of amphibian that are distinguished for their impressive jumping abilities, loud croaking sounds, bulging circular eyes, and wet slimy skin.
With more than 6,000 species, they are considered as one of the most diverse animals in the world. The distinctive physical appearance of frogs is what makes them very interesting to draw.
Fortunately, we have curated a step-by-step tutorial on how to draw a frog summarized in 9 easy and simple steps.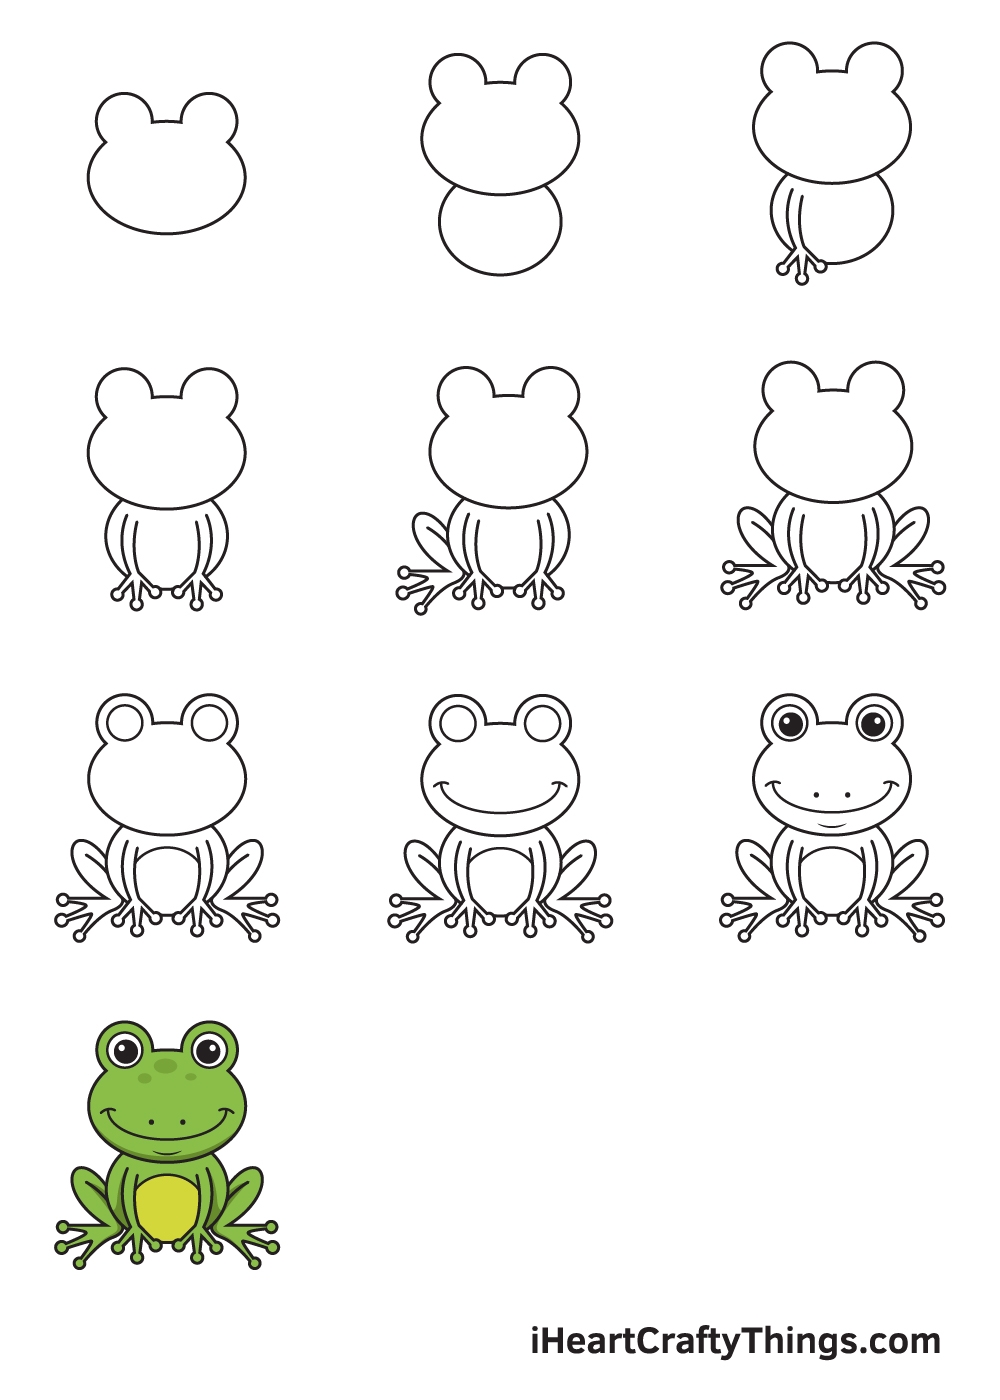
You can apply these steps whether you want to draw a realistic-looking frog or an animated one. Each step is accompanied with comprehensible illustrations that serve as your visual guide as you follow the instructions.
Whether you are a novice or an expert in drawing, we're sure you can follow these steps effortlessly. What's more, you can add your own style and improvise in every step.
Feel free to mix and match colors to customize your artwork and make it unique. Let your imagination wander and unleash your creativity. So, pick your favorite drawing tool and start drawing!
Have fun and use your artistic skills!
What's in this Blog Post
- How to Draw a Frog— Let's get started!
- Step 1
- Step 2 — Outline the Frog's Face and Body
- Step 3 — Draw the Frog's Left Arm
- Step 4 — Afterwards, Complete the Frog's Arms
- Step 5 — Draw the Frog's Left Leg
- Step 6 — Next, Complete the Frog's Legs
- Step 7 — Then, Outline the Eyes of the Frog
- Step 8 — Now, Put a Wide Smile on the Frog's Face
- Step 9 — Shade the Eyes to Finish the Look
- Your Frog Drawing is Complete!
How to Draw a Frog— Let's get started!
Step 1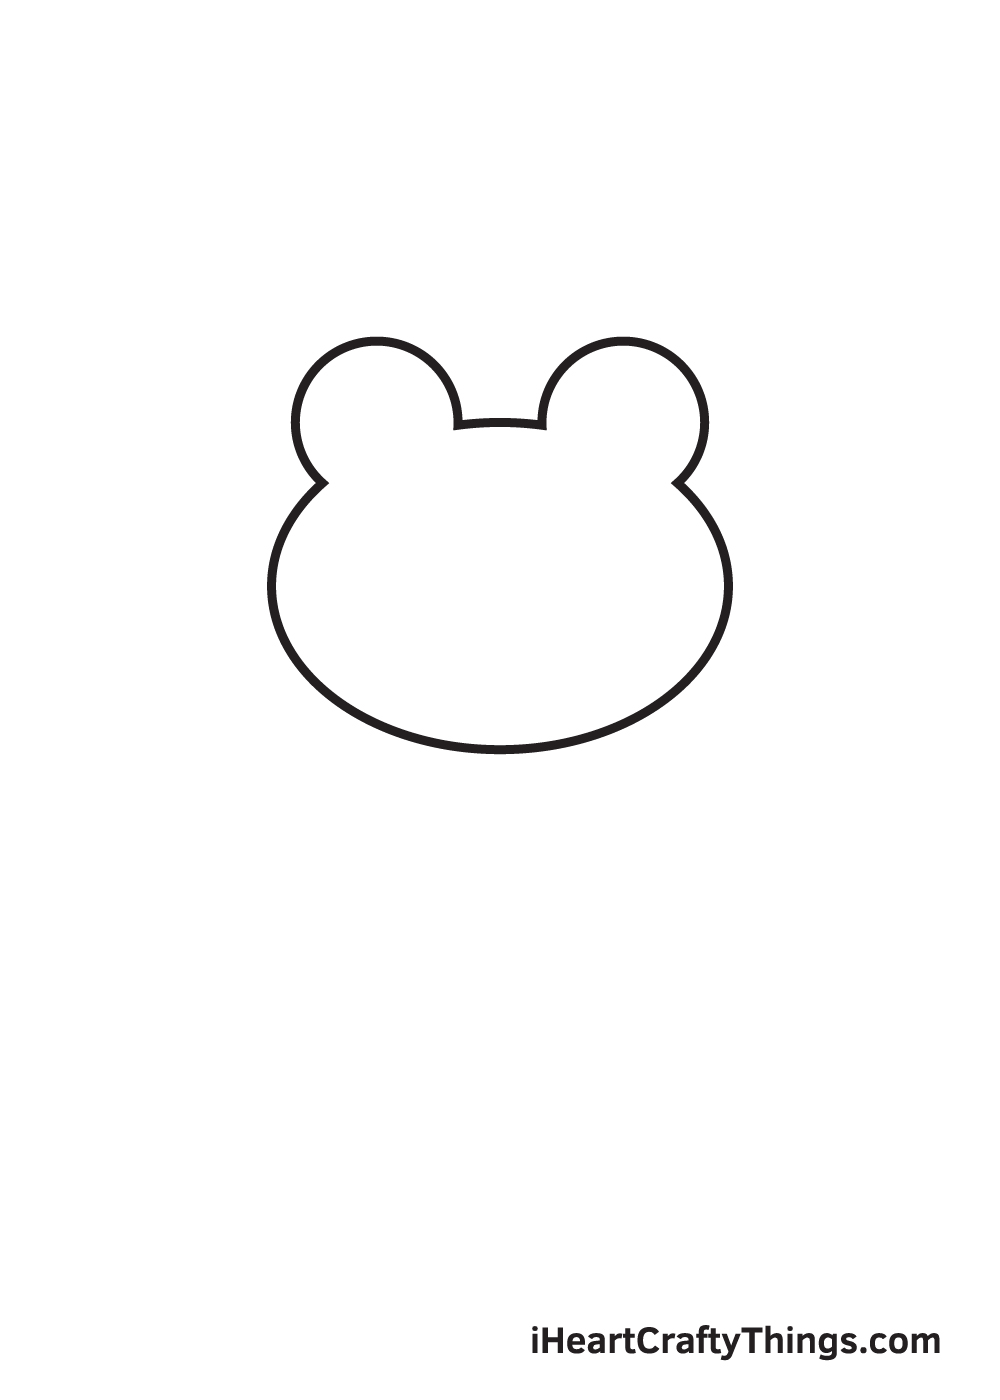
On the center of your paper, draw a sideways oval shape with two circles overlapping the oval at the top. This outlines the face of the frog as well as its huge circle eyes. The eyes at the top of the head must have a slight gap in between, as shown in the illustration.
To ensure that the outline will be positioned in the middle correctly, draw a horizontal and a vertical line across the paper to create reference lines. The spot where the two lines meet is where you should draw the frog.
Step 2 — Outline the Frog's Face and Body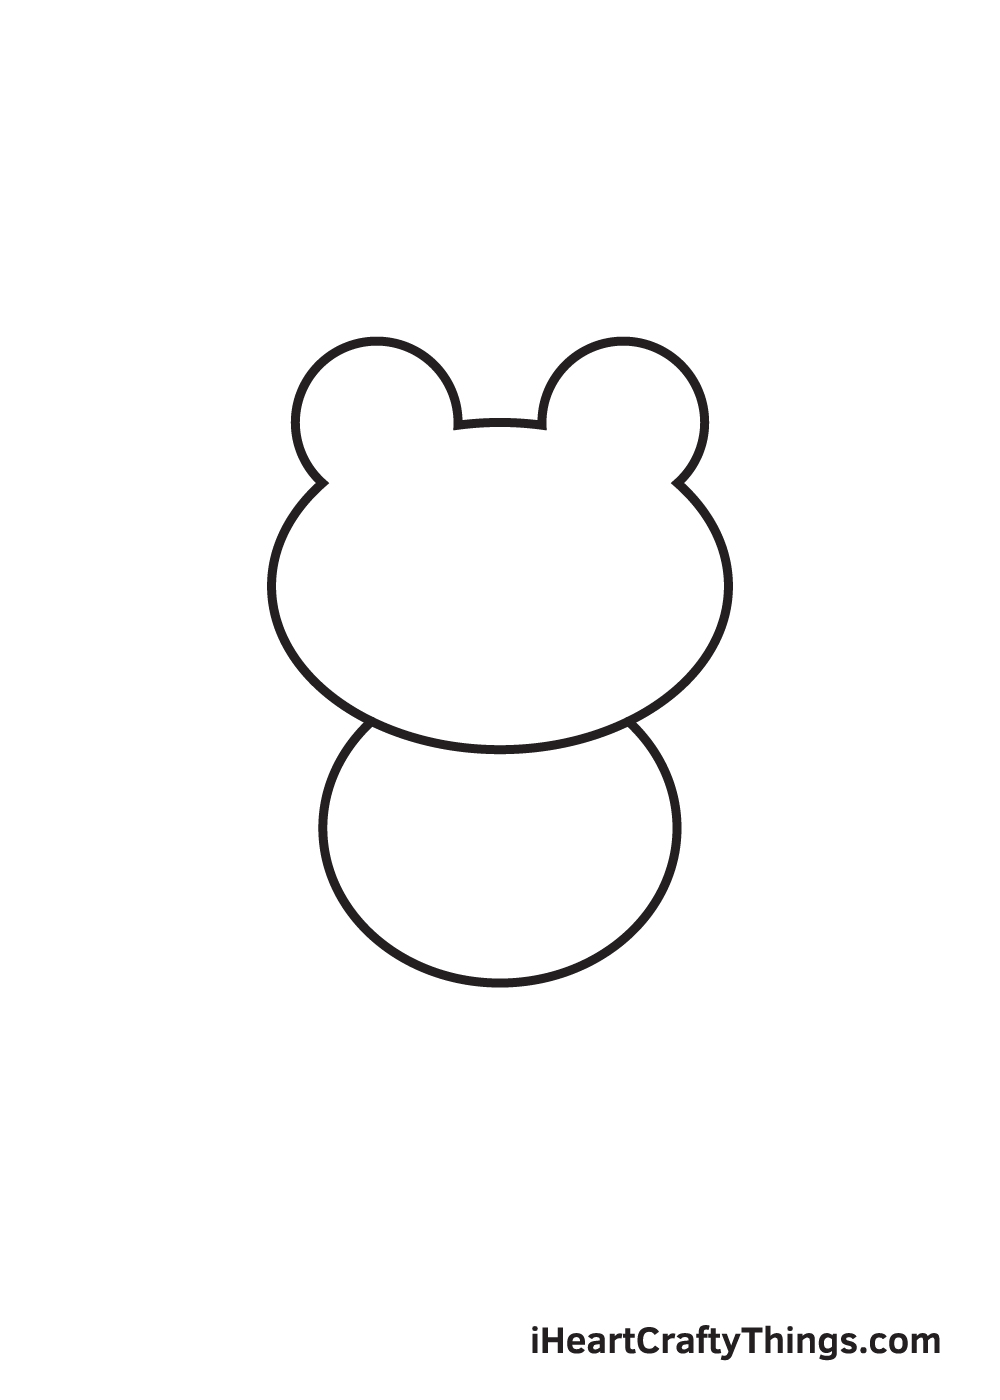
Right underneath the face of the frog, draw another circular shape to outline the body. Bear in mind that the upper portion of the outline of the body must not be visible because the head partly covers the body.
We recommend drawing patterns all over the frog's body to make it more unique! So, if you're up for it, you can draw a polka-dot pattern on its skin or any pattern you prefer!
Step 3 — Draw the Frog's Left Arm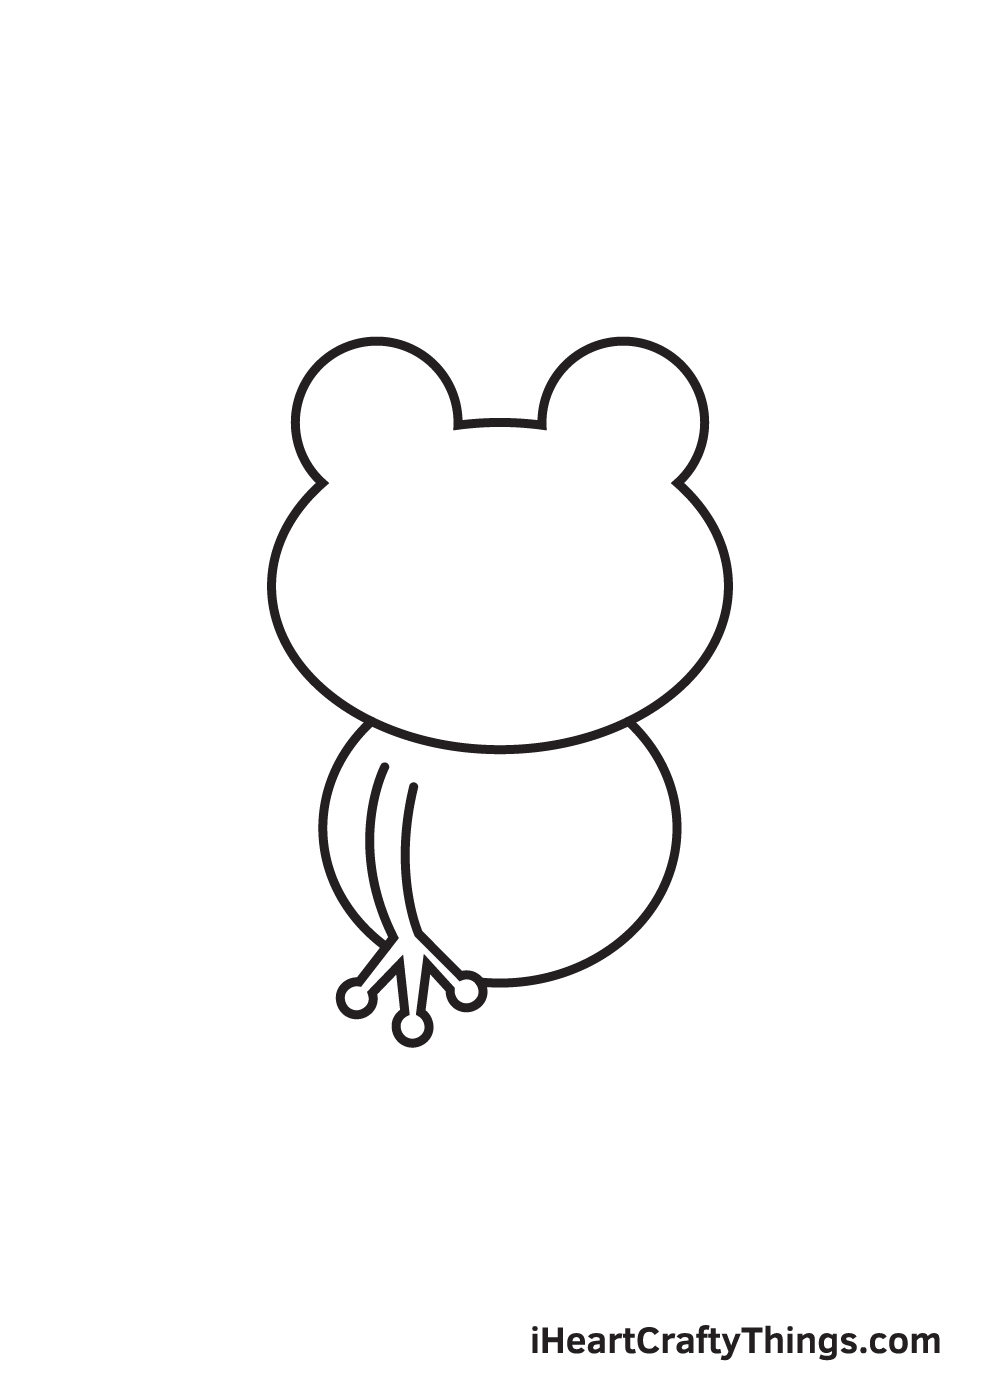
On the left side of the frog's body, draw two curved lines to structure its left arm. Then, draw a hand with three fingers at the bottom of the arm.
Remember, the fingers of a frog are distinctively long and it has circular tips.
Step 4 — Afterwards, Complete the Frog's Arms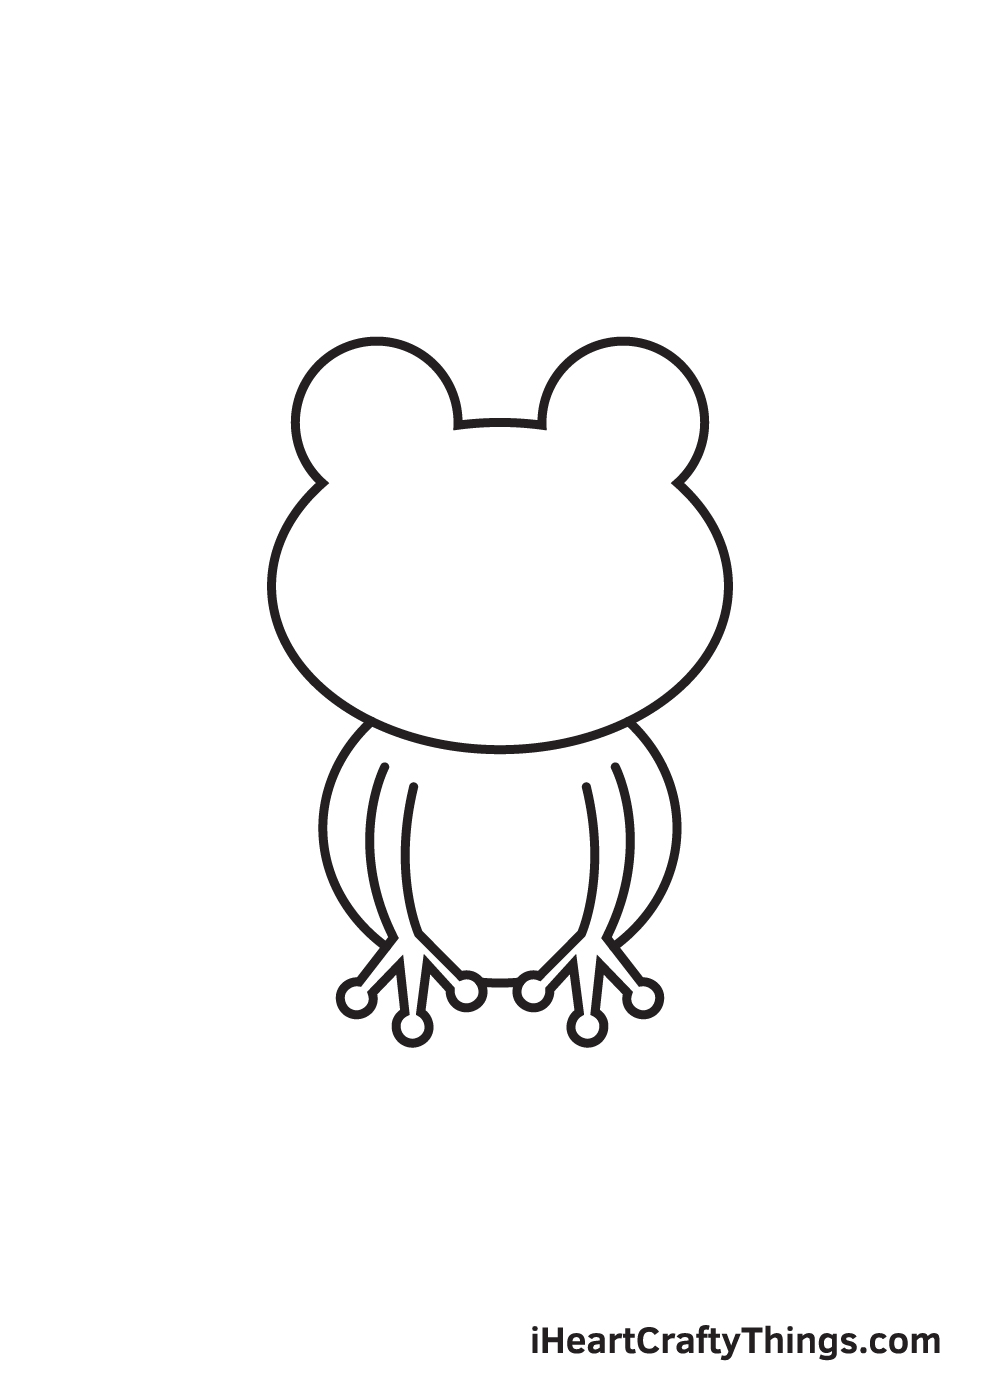
Repeat the previous step on the right side of the body of the frog.
There you have it—you have successfully drawn both of the frog's arms. Way to go!
Step 5 — Draw the Frog's Left Leg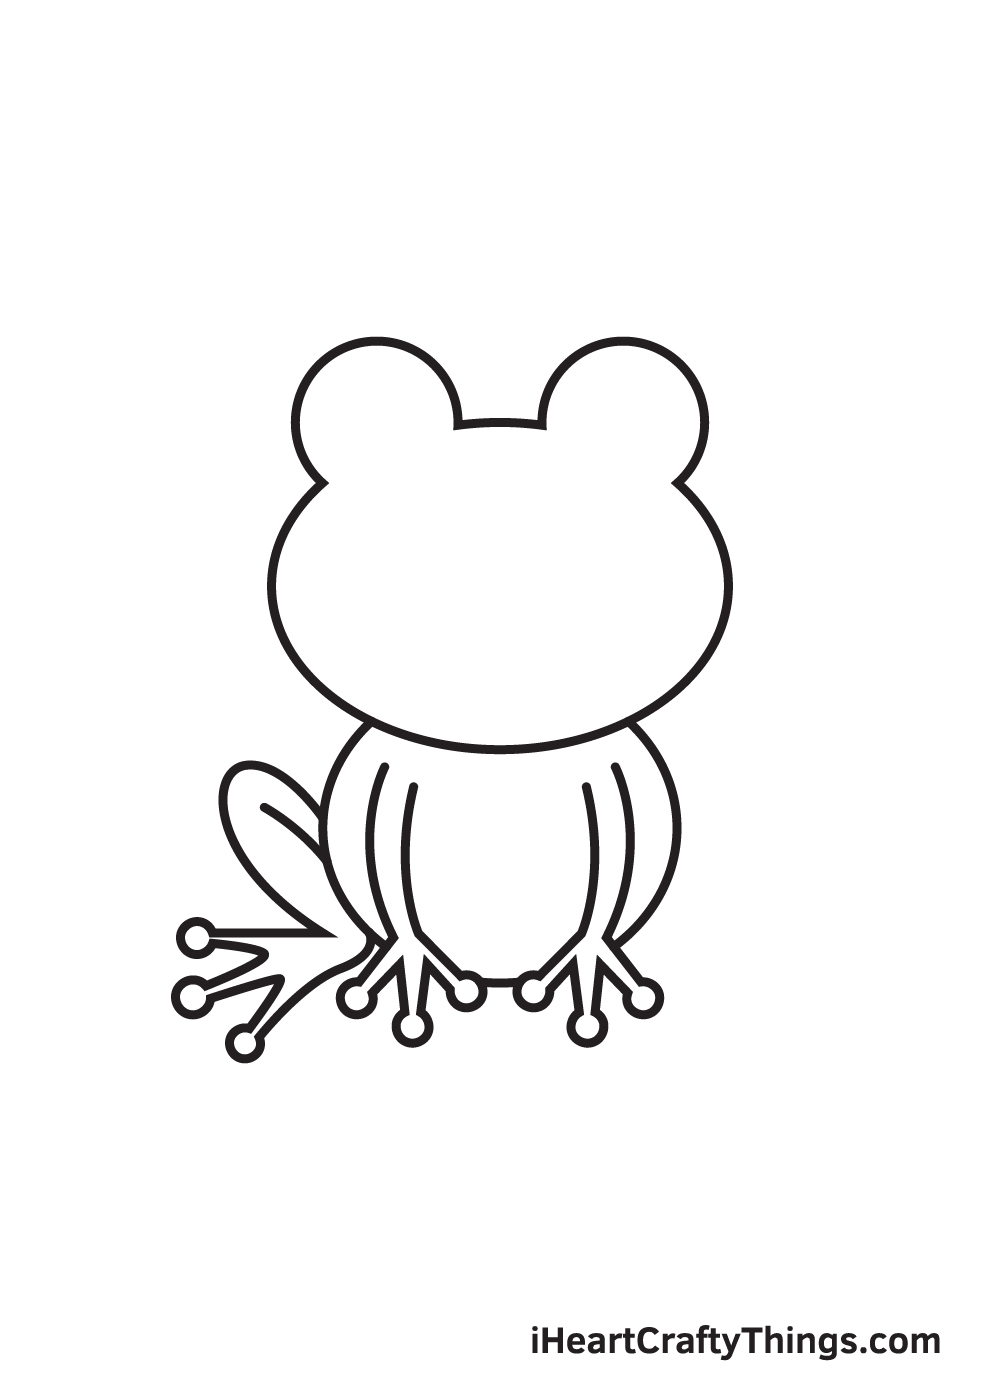
Draw an inverted letter "U" shape to construct the frog's leg on the left side of its body. The hind legs should appear from the back, as shown in the illustration.
Step 6 — Next, Complete the Frog's Legs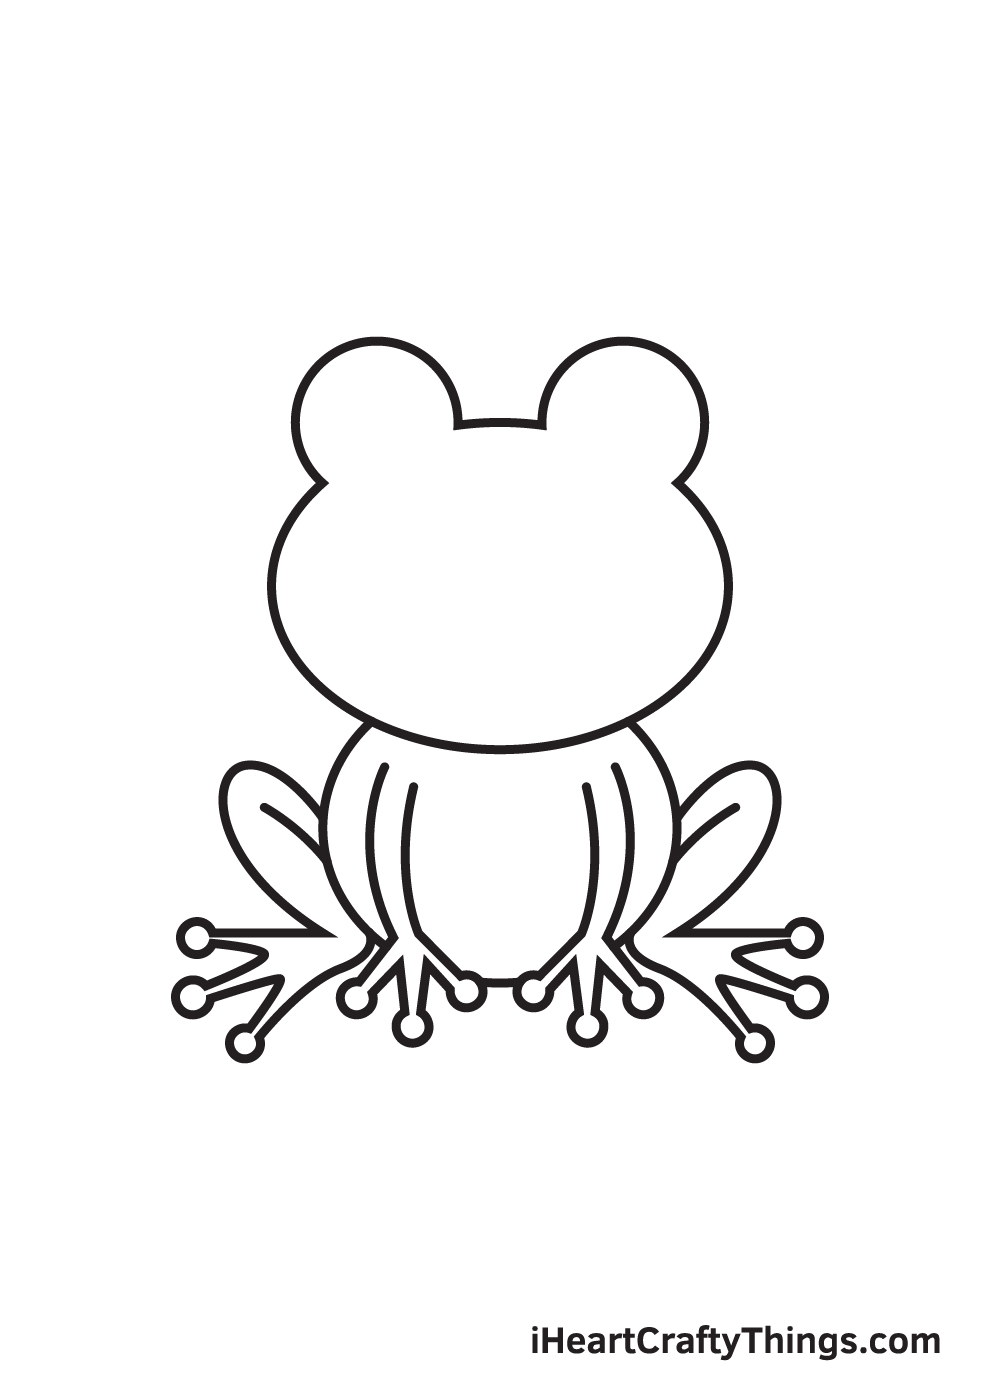
Repeat the previous step on the opposite side of the frog's body. Try to keep its legs as aligned and proportion as possible to make your frog drawing appear more realistic.
Step 7 — Then, Outline the Eyes of the Frog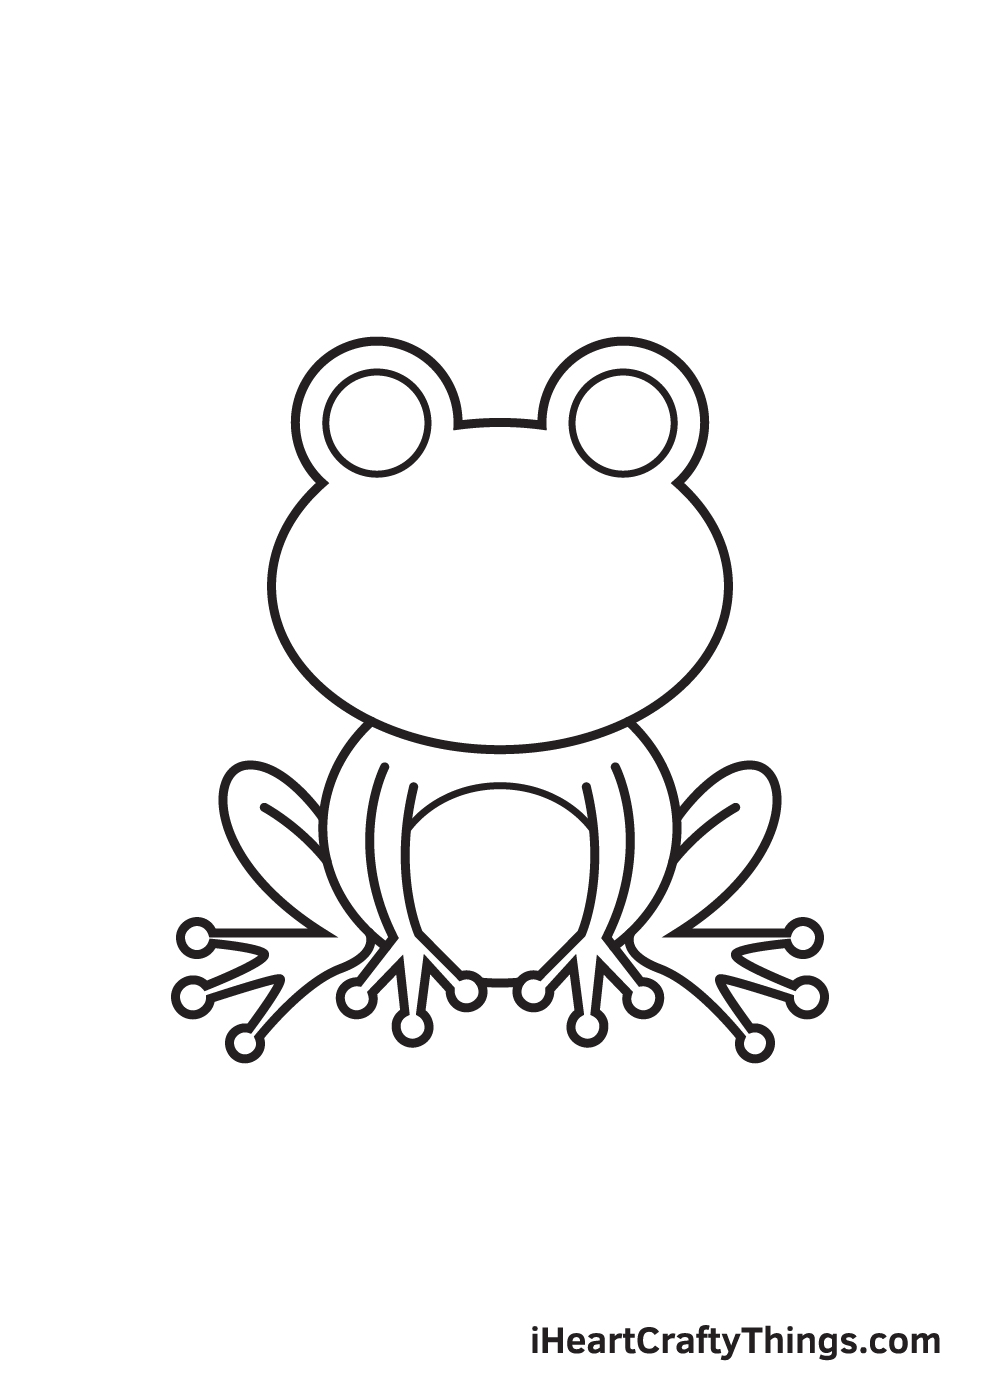
Draw a circle shape within the eye socket that was drawn in the first step. This outlines the actual eye of your frog drawing.
Step 8 — Now, Put a Wide Smile on the Frog's Face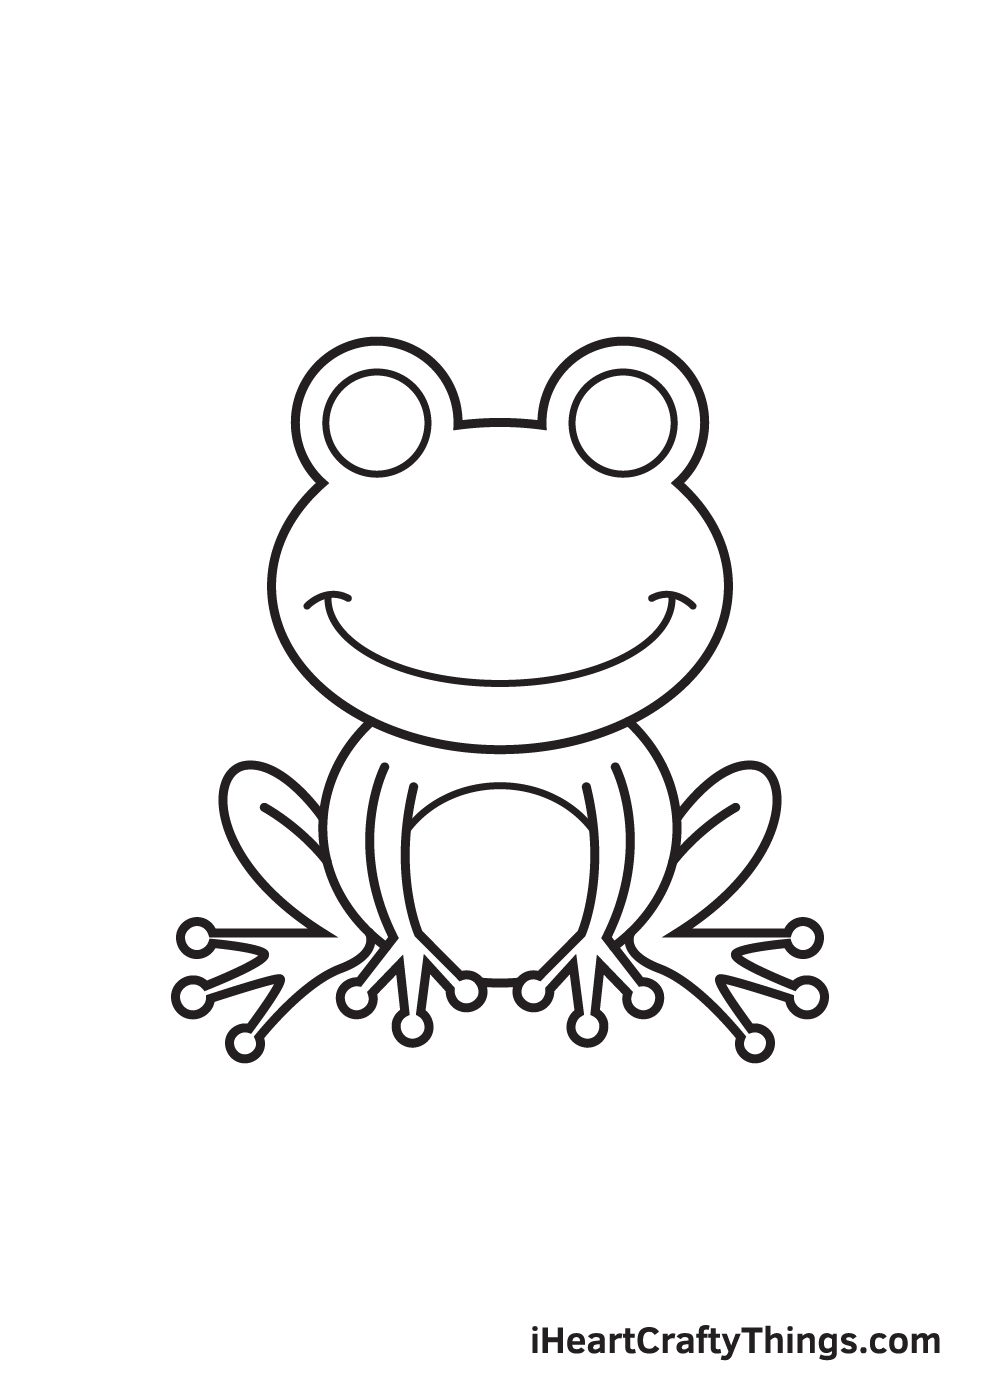
Now, i's time to complete the facial features of your frog: start by drawing an upward curved line at the bottom of the frog's face to add a huge grin on its face.
Then, draw a curved horizontal line on both ends of its mouth. The lines on the both sides of its mouth help emphasize the smile.
Step 9 — Shade the Eyes to Finish the Look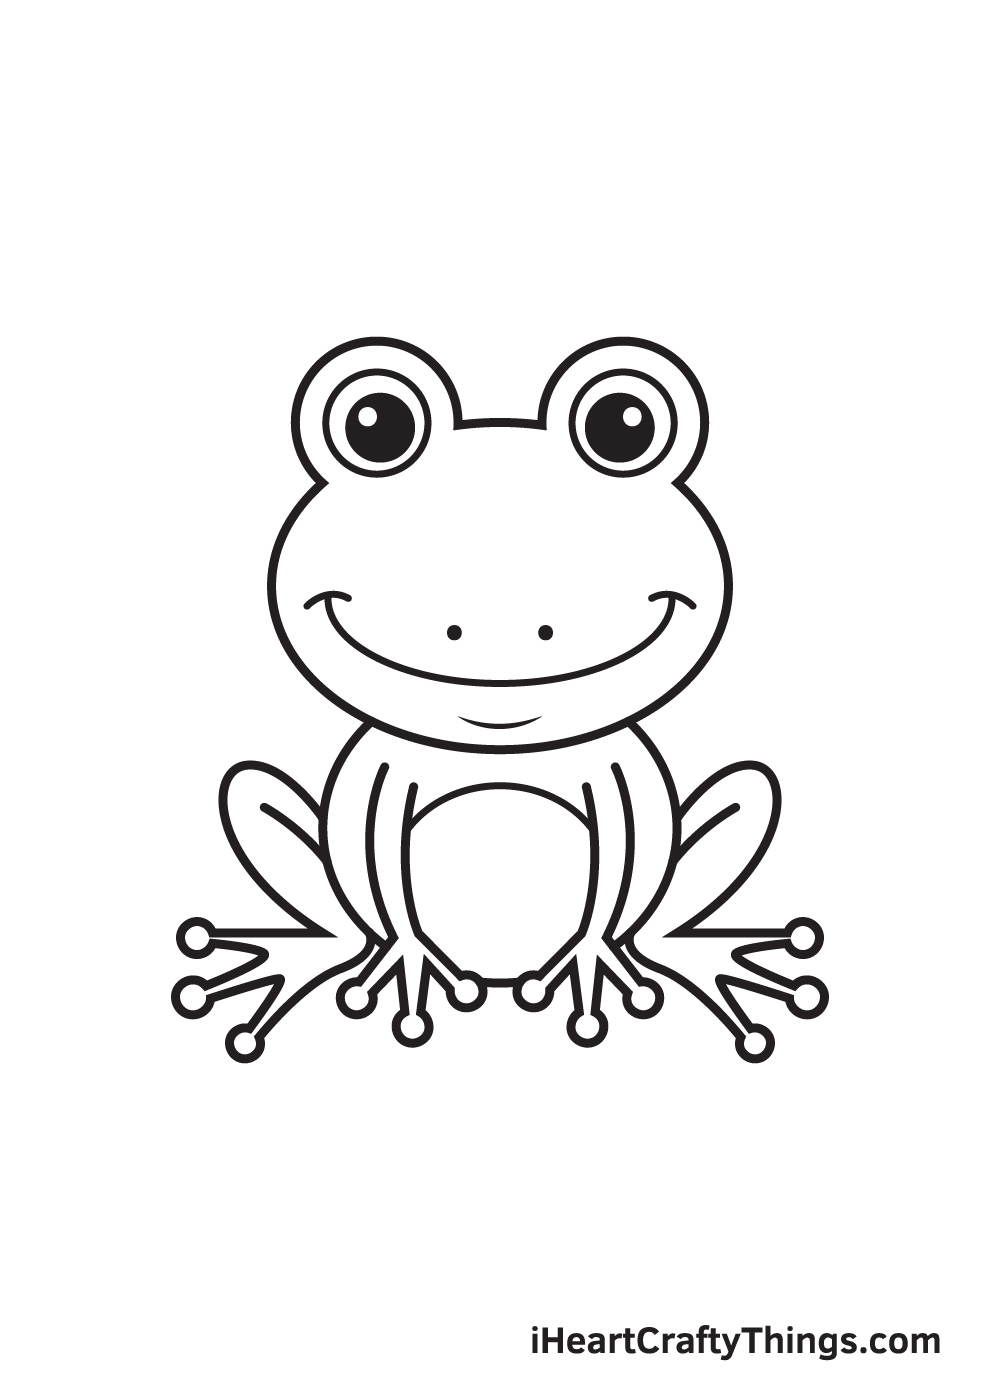
Draw a circle shape inside the outline of the eyes we drew in the seventh step to create the iris. Afterwards, shade the entire iris while leaving out a tiny dot unshaded to create a "gleaming eyes" effect, making the frog look even more adorable!
Here, you can see the frog is nearly finished! The only thing it's missing is a dash of multiple colors to complete your artwork!
Finally, here is the most exciting part—filling in the colors for your awesome drawing! This is the part where you can show off your artistic skills and your ability to mix and match various colors.
Frogs exist in an amazing array of colors, including vibrant orange, brilliant blue, dazzling red, and more mesmerizing vivid colors.
Some frogs even have distinctive patterns imprinted on their skin, thus they may have more than one color. This gives you a lot of color options to choose from when coloring your frog drawing.
Feel free to color your frog drawing however you like and using any colors you like, and watch as your drawing ultimately comes to life!
And while you're at it, why not try experimenting with different coloring materials such as watercolor and brush pens as well?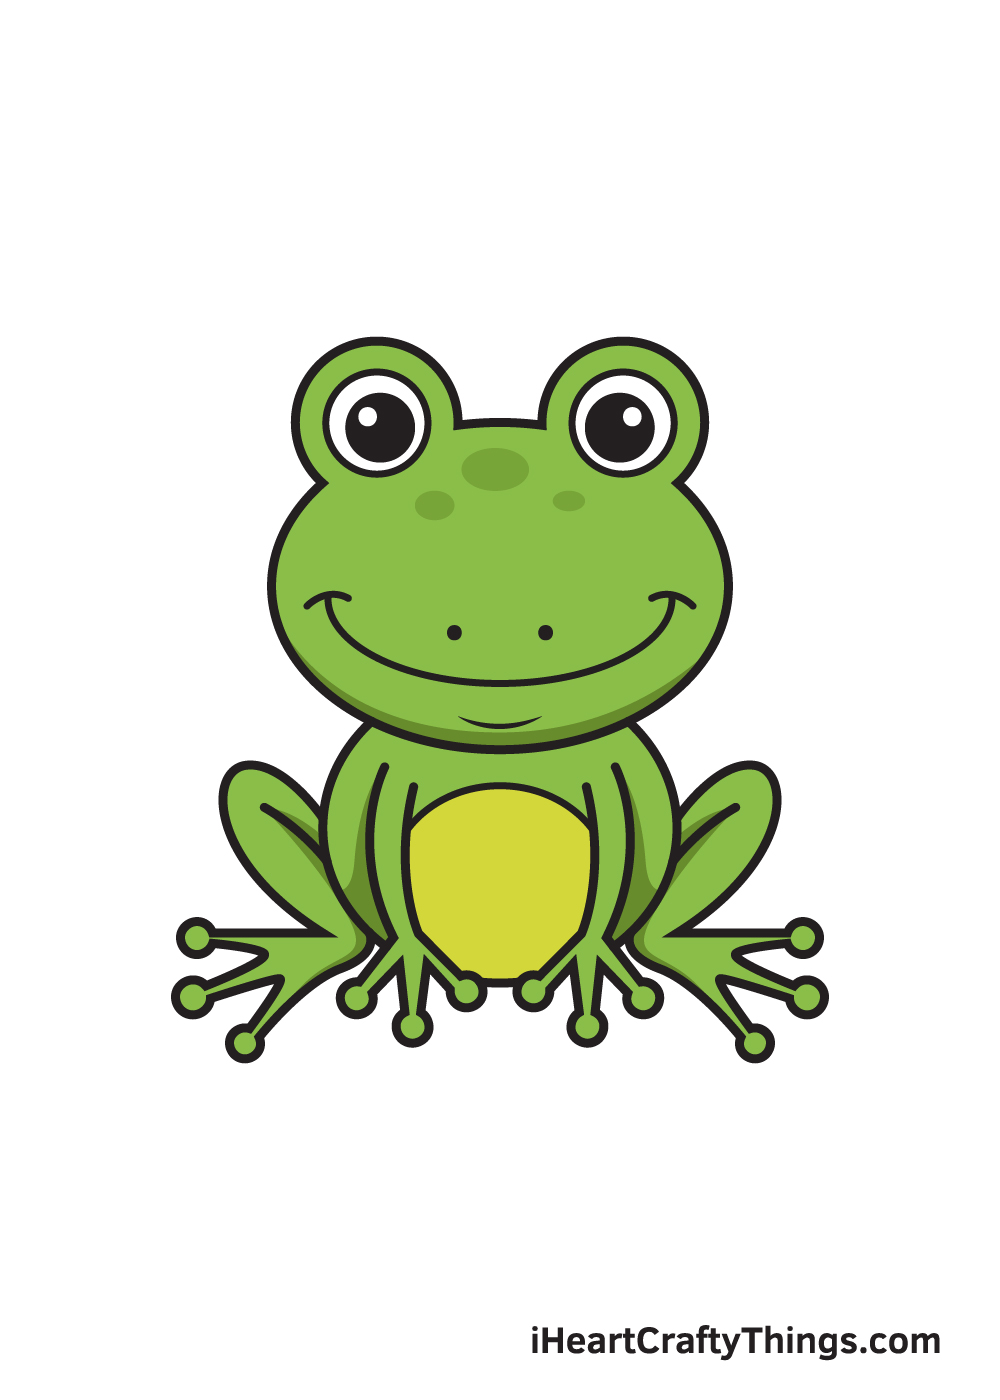
Your Frog Drawing is Complete!
We hope you enjoy this step-by-step tutorial on how to draw a frog. With this guide, you can surely draw and color a frog along with its complex features and elaborate details in no time.
And the most fun part is, you can customize its physical attributes and play with various colors as much as you like!
We are always updating our "How to Draw" catalog, so make sure to keep checking back on our website to take advantage of newly uploaded tutorials.
All you need is a pen and paper and you're all set to start drawing! We are excited to see what you will draw next. We're sure it will be just as amazing as this one!
Once you've finished your masterpiece, we're certain you must be feeling very proud of yourself—as you should be! Completing this frog drawing is definitely fulfilling.
Make sure to show off your work of art and share it on our Facebook page and on Pinterest. We're sure it looks amazing! We can't wait to see your colorful frog drawing!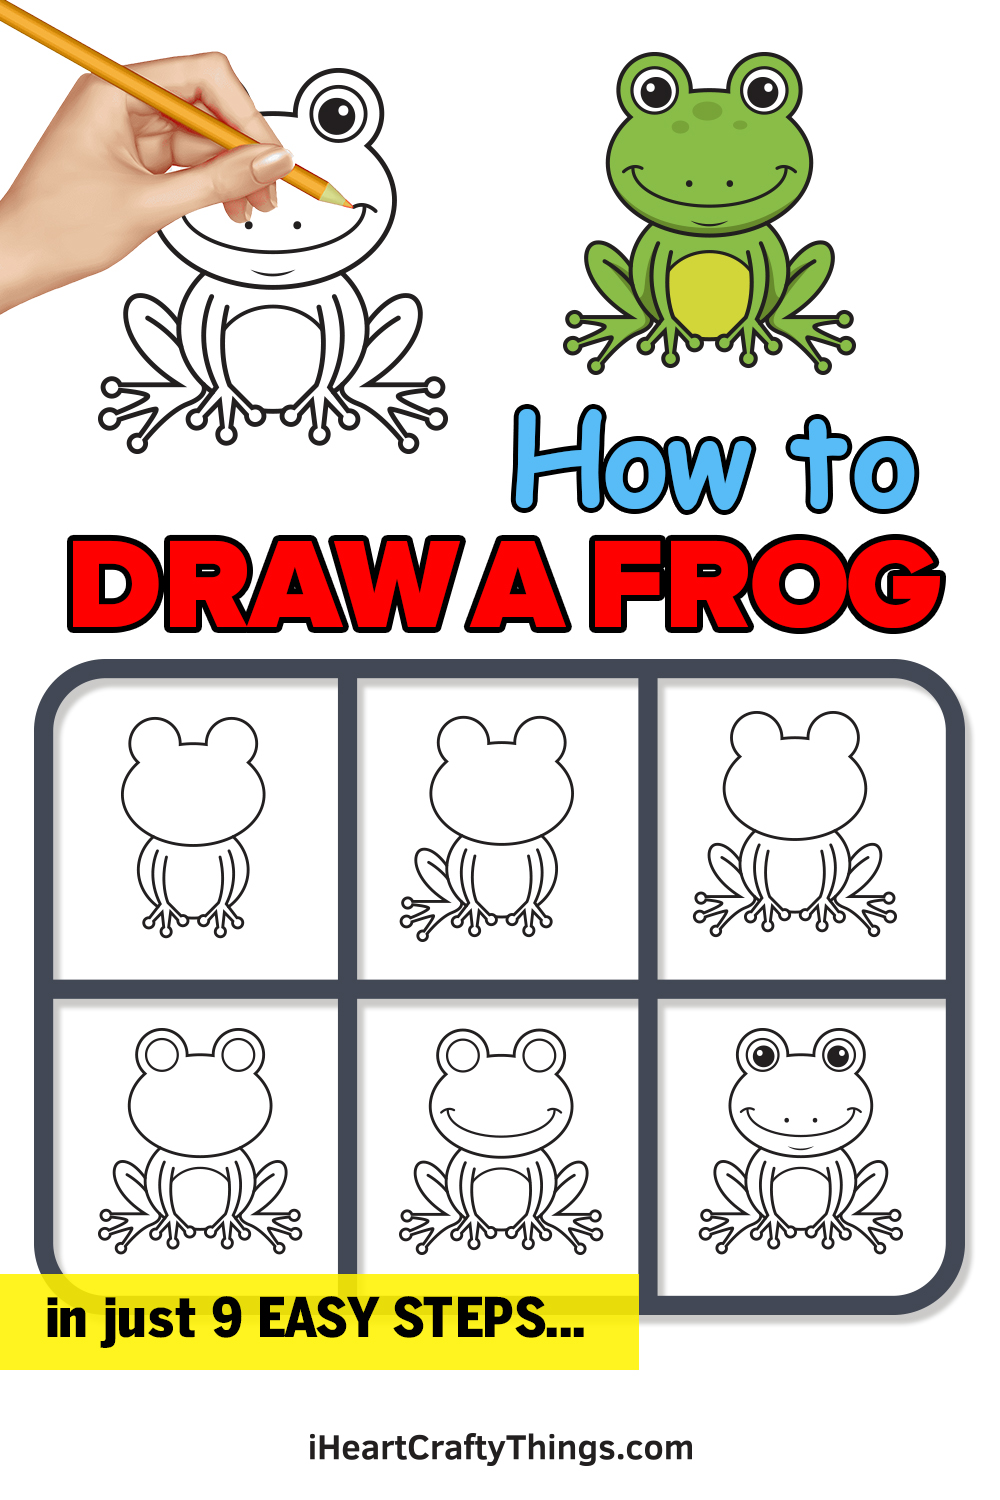
How to Draw a Cute Frog Step by Step
Source: https://iheartcraftythings.com/frog-drawing.html
0 Response to "How to Draw a Cute Frog Step by Step"
Publicar un comentario